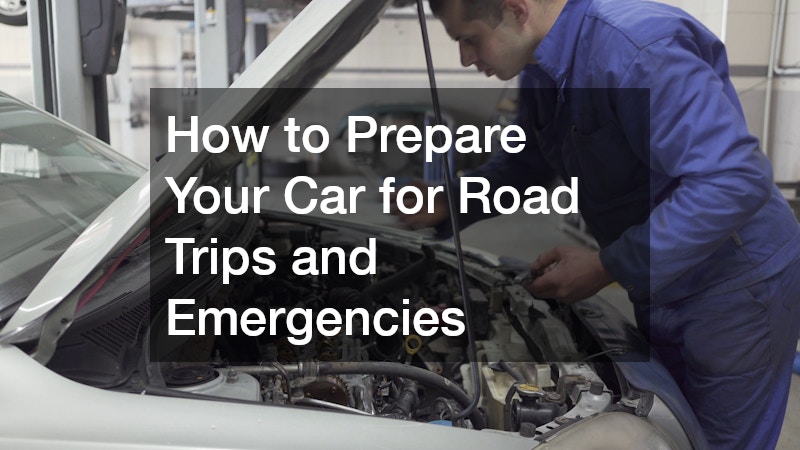
The open road has a timeless appeal. Whether you are planning a cross-country summer vacation, a weekend mountain getaway, or a coastal drive, embarking on a long-distance road trip promises adventure and freedom. However, nothing sours the excitement of a journey faster than a flashing check engine light, a sudden tire blowout, or a stalled engine on an unfamiliar stretch of highway miles from the nearest town.
Vehicle breakdowns during long-distance travel are rarely completely random. More often than not, they are the direct result of minor mechanical wear, low fluid levels, or unaddressed tire defects that finally give way under the stress of prolonged highway speeds and high ambient temperatures. Preparing your vehicle for a road trip requires a proactive mindset that blends mechanical inspection, protective exterior prep, and comprehensive emergency planning.
Taking time to evaluate your vehicle’s mechanical health before turning the ignition key gives you peace of mind and protects your passengers. This complete guide walks you through essential pre-trip mechanical checks, exterior body protection strategies, emergency kit preparation, and clear protocols for handling unexpected roadside mishaps with confidence.
Inspect Vital Mechanical Systems and Tires Before You Leave
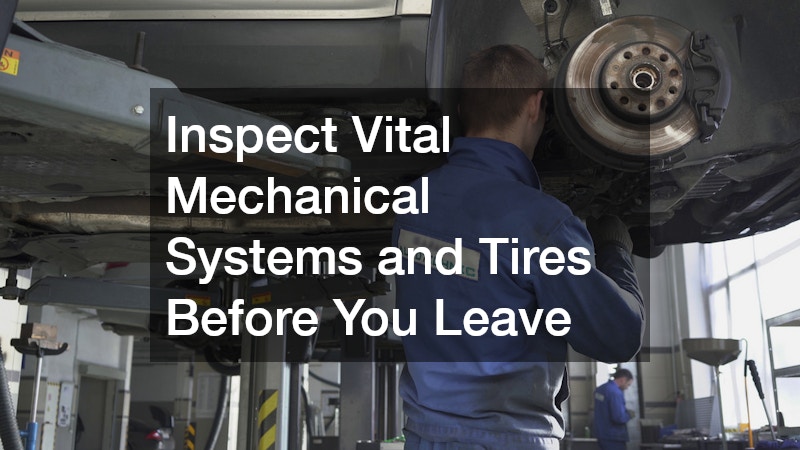
Verify Stopping Power, Check Tire Pressure, and Monitor Fluid Levels
Your vehicle works significantly harder during a long road trip than during daily neighborhood commuting. Extended hours at high speeds generate immense internal friction and heat across your engine, transmission, and braking systems. Ensuring all vital fluids are clean and filled to recommended levels is your first line of defense against mechanical failure.
Begin your mechanical audit by checking engine oil, automatic transmission fluid, engine coolant, brake fluid, and power steering fluid. If your engine oil is dark, gritty, or near its mileage expiration, change it along with the oil filter before departing. Additionally, top off your windshield washer fluid with a bug-cleaning formula to manage highway insect splatter.
Your tires are the only point of contact between your vehicle and the pavement, making tire inspection a vital safety priority:
- Measure tire tread depth: Insert a penny upside down into your tire tread grooves. If you can see the top of Lincoln’s head, your tread depth is below 2/32 of an inch, and the tires must be replaced before driving at highway speeds.
- Set cold inflation pressure: Check tire pressure in the morning before driving, ensuring inflation matches the PSI specifications on your driver’s door jamb sticker, not the maximum pressure printed on the tire sidewall.
- Inspect the spare tire: Never forget to check your spare tire’s pressure and condition. A flat spare tire is completely useless during a roadside emergency.
- Evaluate braking feel: Listen for high-pitched squealing or harsh metallic scraping when stopping, and note any steering wheel vibration or pedal pulsation during firm braking.
If you notice any spongy pedal feel, uneven stopping, or squealing, scheduling an inspection through local brake services ensures your pads, rotors, and hydraulic lines are fully capable of handling emergency stops. Furthermore, if your pre-trip check reveals uneven tread wear, slow pressure leaks, or minor nail punctures in the tread face, visiting a certified tire repair service resolves tire balance and tread issues before they cause a high-speed blowout on the highway.
Shield Your Exterior Paint and Bodywork from Highway Debris
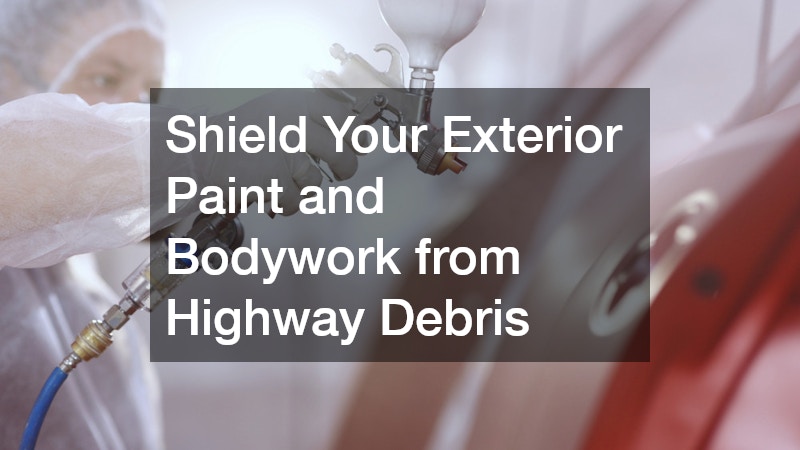
Protect Clear Coats, Clean Lenses, and Enhance Exterior Durability
Cruising at high speeds exposes your vehicle’s exterior to a continuous barrage of environmental hazards. High-speed gravel chips, flying road tar, acidic bug splatter, and intense UV exposure can dull paintwork, pit headlight lenses, and cause lasting finish damage over a multi-day trip. Protecting your vehicle’s exterior before hitting the road makes post-trip cleaning significantly easier while preserving your paint finish.
Preparing your vehicle’s exterior begins with a deep, thorough hand wash to remove existing dirt and road grime. Clay, barring the paint surfaces, removes bonded environmental contaminants, creating a completely smooth finish ready for protective coatings. Pay special attention to your headlights and taillights; hazy or yellowed lenses reduce nighttime illumination distance, compromising safety during late-night driving stints.
Consider these high-impact exterior preparation and protection strategies:
- Apply glass hydrophobic treatments: Treat your windshield and side windows with a rain-repellent coating. Hydrophobic glass coatings cause rain to bead up and roll off rapidly, dramatically improving visibility during heavy downpours.
- Protect the front bumper and hood: Apply temporary protective film or liquid paint shield masks to high-impact front zones to absorb gravel strikes and prevent bug acid etching.
- Upgrade auxiliary lighting: Ensure all headlights, high beams, fog lights, and brake lights are functioning brightly, replacing dim bulbs with modern high-output options.
- Treat rubber seals and trim: Apply a silicone-based conditioner to door and window rubber weatherstripping to prevent drying, cracking, and high-speed wind noise inside the cabin.
For maximum long-term paint protection, applying professional ceramic coatings creates an ultra-durable, microscopic chemical bond over your clear coat that repels water, mud, road salt, and bug splatter effortlessly. Additionally, exploring functional auto customization options—such as installing custom paint protection film (PPF) on front fascias or adding specialized roof racks for cargo organization—allows you to tailor your vehicle for high-mileage utility and adverse weather travel.
Address Structural Imperfections and Panel Alignment Early
Fix Loose Trim, Seal Body Gaps, and Address Existing Panel Damage
While minor cosmetic dings might seem harmless around town, existing body damage can become a major headache on the open road. At highway speeds, aerodynamic wind resistance pushes against every panel seam, bumper cover, and underbody splash guard. Loose plastic clips, misaligned fenders, or hanging underbody shields that seem fine at 35 MPH can catch high-speed airflow, causing panels to flap, drag on the pavement, or detach completely.
Before setting out, perform a complete walkaround inspection of your vehicle’s bodywork. Firmly grip front and rear bumper covers, wheel well liners, and side skirts to verify all plastic fasteners and mounting screws are tight. Inspect metal body panels for deep scratches or stone chips that have penetrated down to bare steel, as exposure to rain or highway road salt will rapidly initiate rust formation.
Address these structural and panel alignment areas before your departure:
- Secure underbody splash shields: Inspect the plastic belly pans under your engine and transmission, replacing broken zip ties or missing bolts to prevent dragging on the highway.
- Examine door and trunk latches: Verify that all doors, the hood, and the rear hatch latch securely with uniform panel gaps, ensuring weatherstripping seals tightly against wind noise.
- Inspect side mirror housings: Ensure side mirrors are firmly mounted, and that power adjustment motors function smoothly for optimal rear visibility.
- Touch up exposed metal chips: Apply matching touch-up paint and clear coat to deep chips to prevent rust from creeping underneath surrounding paint layers.
If your vehicle has loose trim panels, misaligned bumper covers, or structural gaps from a recent parking lot impact, taking your vehicle to an auto body shop ensures all body panels are securely aligned and fastened. Getting these minor local auto body repairs completed before your trip eliminates annoying highway wind noise, improves aerodynamic efficiency, and prevents loose exterior trim from detaching while driving.
Build a Roadside Emergency Plan and Towing Strategy
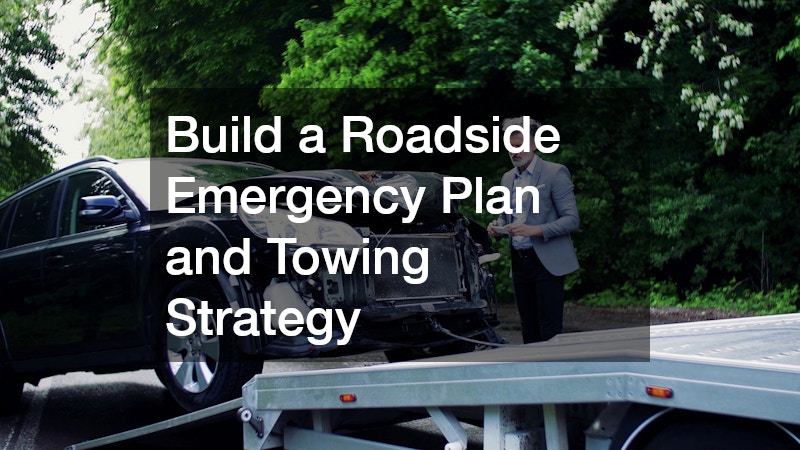
Pack an Emergency Kit, Save Recovery Numbers, and Prepare for Breakdowns
Even meticulous mechanical preparation cannot prevent every potential roadside hazard. Punctured tires from road debris, unexpected battery failure, or sudden electrical faults can leave you stranded in unfamiliar territory. Having a well-stocked emergency kit and a clear recovery protocol transforms a frightening breakdown into an organized, manageable situation.
Your emergency kit should be packed in an easily accessible cargo area, not buried beneath heavy suitcases where it cannot be reached quickly. The kit should include practical tools for illumination, basic mechanical fixes, signaling, and physical comfort while waiting for roadside assistance.
Assemble a comprehensive roadside emergency kit containing these essential items:
- Heavy-duty jumper cables or battery jump pack: A portable lithium-ion jump starter allows you to restart a dead battery without needing another vehicle.
- LED flashlight and extra batteries: Pack a headlamp or magnetic work light so you can inspect engine bays or change tires hands-free in the dark.
- Tire inflation and repair tools: Include a 12-volt portable air compressor, a tire pressure gauge, and a tire plug kit or can of temporary tire sealant.
- First-aid and survival supplies: Pack sterile bandages, antiseptic wipes, pain relievers, emergency thermal blankets, non-perishable snacks, and extra bottled water.
- Safety signaling gear: High-visibility reflective vests, LED safety flares, and a reflective warning triangle alert oncoming drivers to your presence on dark shoulders.
If a severe mechanical breakdown occurs that cannot be fixed on the shoulder, knowing your recovery options in advance saves valuable time. Storing contact information for a national car towing company directly in your phone ensures you can request immediate help anywhere along your route. When calling for assistance, specify if your vehicle requires a flatbed tow truck, which is essential for safely transporting all-wheel-drive vehicles or cars with low ground clearance without damaging the drivetrain.
Manage Minor Accidents and Structural Emergencies Far from Home

Handle Minor Collisions, Document Damage, and Seek Certified Repairs
In the unfortunate event of a minor highway fender bender or parking lot collision while away from home, remaining calm and following a structured process is essential. Your immediate priority must always be safety. If the vehicles are driveable, pull off the active travel lanes onto a wide shoulder, median, or nearby parking lot, turn on your hazard lights, and assess all passengers for injuries.
Once safety is established, document the incident thoroughly for insurance purposes. Take wide-angle photos of the accident scene, vehicle positions, traffic signs, and close-up photographs of all damaged panels, underlying mechanical components, and glass. Exchange driver, vehicle, and insurance information, and obtain a copy of the official police report from responding officers.
Follow this protocol if involved in an out-of-town accident:
- Assess vehicle driveability: Look for leaking fluids, rubbing tire wells, or hanging steering components before attempting to drive away from an accident scene.
- Check safety systems: Verify that headlights, taillights, turn signals, and door latches operate correctly if you must drive to a safe location.
- Contact your insurance provider: Report the incident promptly to start the claim process and get guidance on approved out-of-town repair facilities.
- Keep all documentation: Retain physical copies of police reports, towing receipts, photo logs, and shop estimates in a secure folder.
If the collision results in compromised suspension geometry, misaligned frame rails, or crushed body panels that prevent safe driving, you will need to arrange for professional collision repair at a qualified facility. Finding certified local auto body repairs near your location guarantees that structural frame alignment, sensor recalibration, and panel replacements are executed to factory safety specifications before you attempt the drive back home.
It’s also essential to document the extent of the damage for insurance purposes, as this can help in the claims process. Keep in mind that even minor accidents can lead to hidden damage that might affect your vehicle’s performance and safety. Moreover, after repairs are completed, it’s a good idea to schedule a thorough inspection to ensure that everything is functioning correctly. Prioritizing these steps will not only enhance your vehicle’s safety but also give you peace of mind on the road.
Conclusion
A successful, memorable road trip is built on a foundation of proper preparation. By taking a proactive approach to vehicle maintenance—checking vital fluid levels, verifying tire tread, protecting exterior surfaces, and securing body panels—you significantly lower the risk of experiencing a mechanical failure far from home. Equally important is accepting that unexpected roadside incidents can occur despite your best efforts. Packing a well-stocked emergency safety kit, knowing how to handle minor collisions, and having reliable roadside recovery resources saved on your phone gives you the confidence to manage any situation safely.
In addition to mechanical readiness, planning your route and making reservations for accommodations can enhance your journey. Consider downloading navigation apps that provide real-time traffic updates and route alternatives to avoid delays. Furthermore, don’t forget to prepare for your enjoyment along the way—create a playlist of your favorite songs, pack snacks, and make a list of interesting stops to explore. Take the time to execute your pre-trip inspection checklist today, so you can relax and enjoy every mile of the journey ahead.